First Article Inspection, or FAI, is a formal design validation and documentation method for 2D and 3D Metrology of components created from a specific manufacturing process, such as injection molding, casting, machining, etc. Often both the supplier and purchaser perform the FAI and the results compared. Sample sizes may range from a few parts to hundreds or even thousands, and depending on the industry, specific standards like AS9102 or Medical Device 21 CFR 820 may govern the inspection process.
Kinetic Vision's first article inspection services are part of our are ISO 9001:2015-certified industrial scanning solutions. Traditionally first article inspection has been done with coordinate measuring machines (CMM), but 3D CT Scanning, with its ability to measure many dimensions simultaneously, accommodate miniature parts, and define complex surfaces and internal features, is rapidly becoming the de-facto standard in many industries. Additionally, software automation allows computed tomography (CT) data to be digitally processed, allowing thousands of part features to be measured and statistically summarized much faster than manual methods.
Learn more about First Article Inspection at Wikipedia.

16-Cavity Mold First Article Inspection
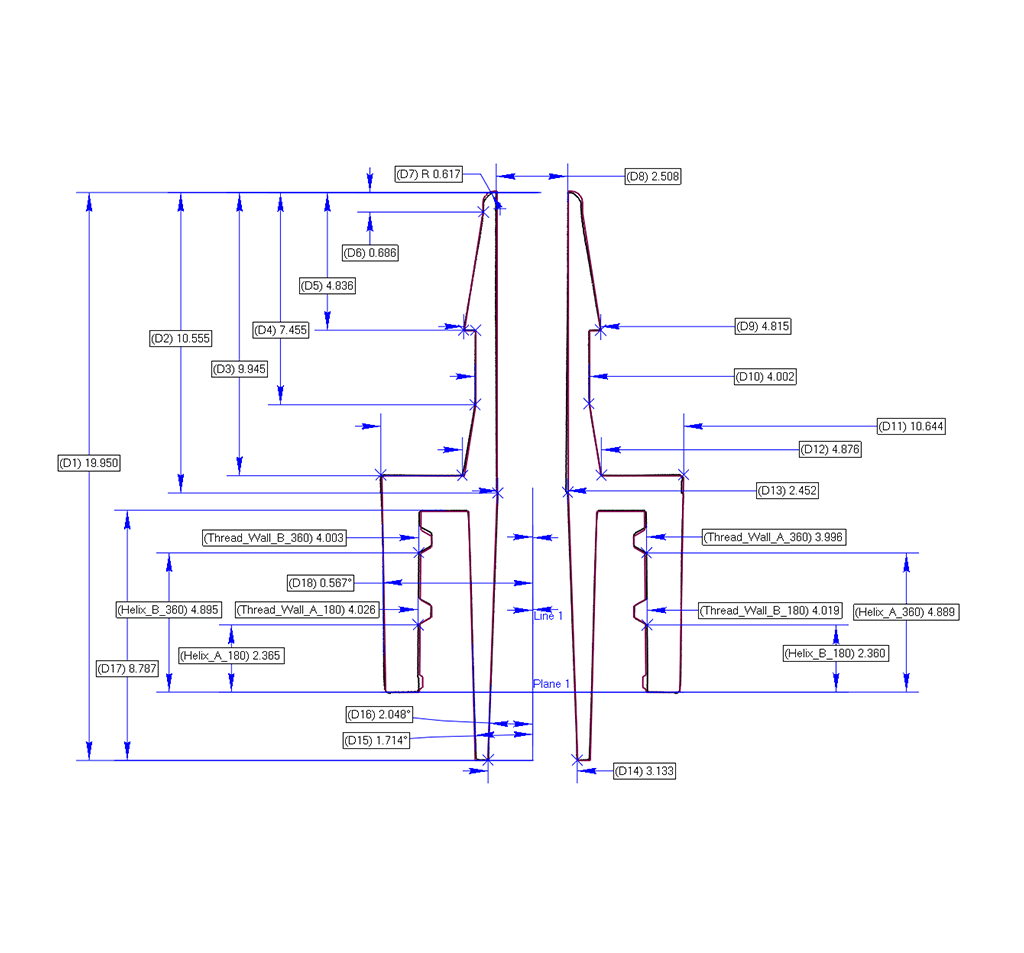
Parts from a 16-cavity mold are inspected for 26 different critical dimensions using custom digital processing of scan images created from Kinetic Vision's first article inspection services.
Surface Profile GD&T Verification
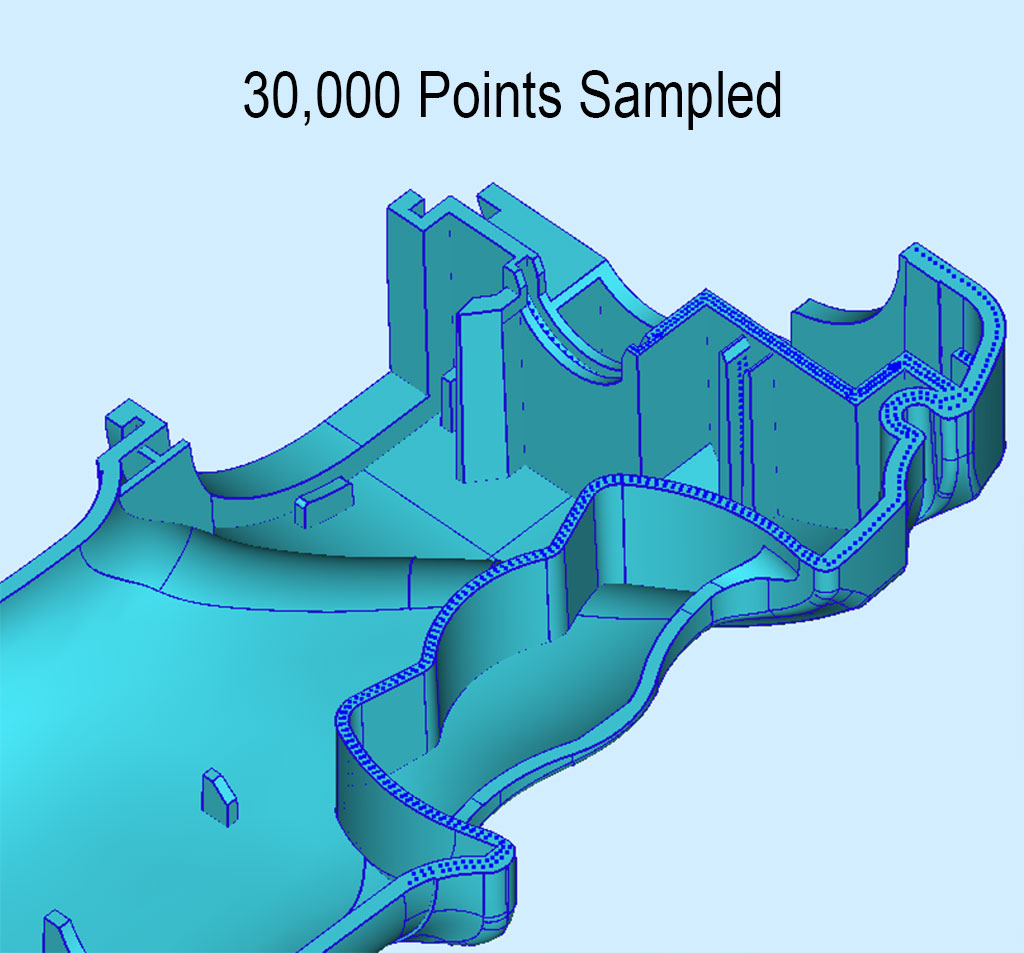
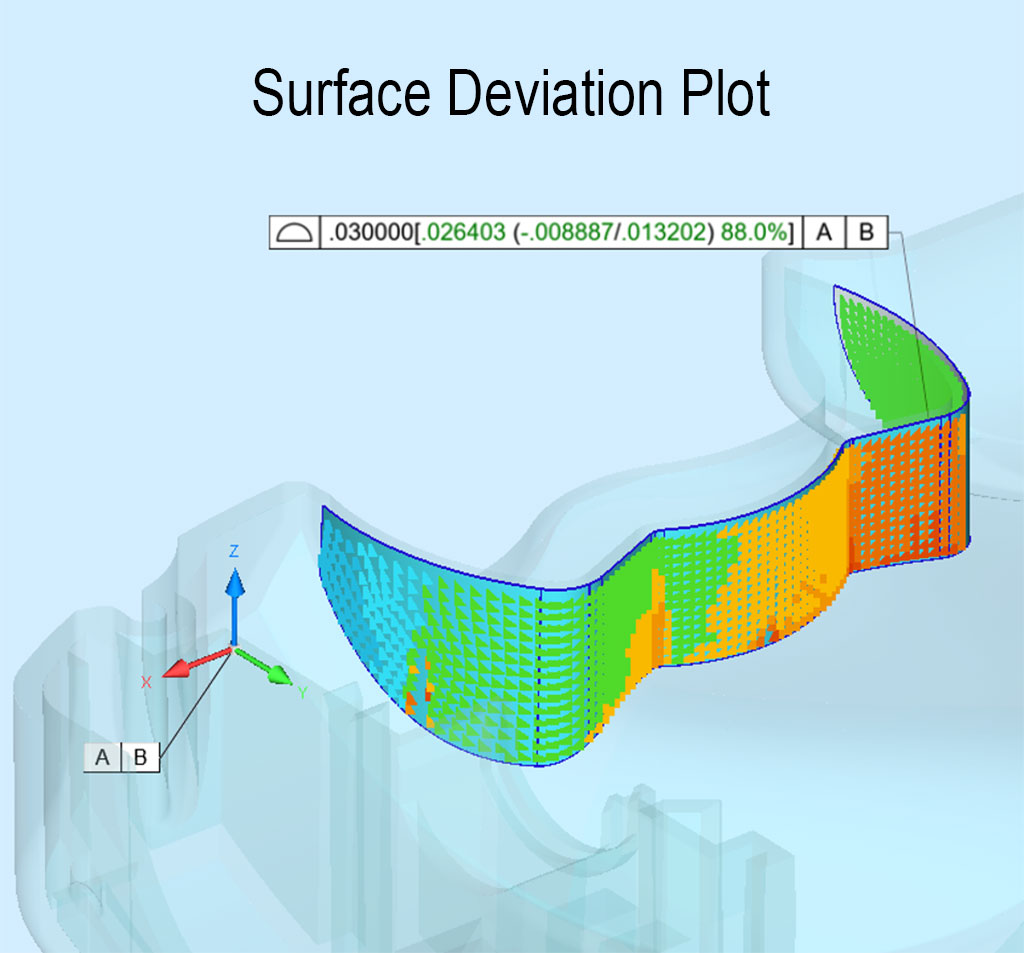
Geometric Dimensioning and Tolerancing (GD&T) surface profile specifications are often extremely difficult and time-consuming to validate using traditional coordinate measuring machines, especially for complex surfaces. In this example a molded device handle designed by our Advanced CAD Services group was CT scanned to create a 3D model with over 3,000,000 data points. Of those, a sub-sample of 30,000 points were used to measure a critical surface profile. Color-coded images and graphical histograms of surface deviation quantified the surface measurements of mold qualification samples as part of Kinetic Vision's first article inspection services.


